How To: Build a Springer Front End With Josh Allison from American Metal Customs
I am thrilled to announce that Josh Allison from American Metal Customs has joined the ChopCult family and will be sending in tech articles from time to time. Josh is known for his meticulous metalwork and for creating most of the parts for his builds. Here's the first of many tech articles heading your way. Welcome to the family Josh! -Lisa

My process of crafting handmade springers begins with sourcing several parts. There are different sites that you can get springs, the 1" stem, springer upper bushings, and other parts you may need, or you can always build them. This springer is made out of steel that I sourced from a local metal distributor. The following will walk you through the process of creating a springer as well as multiple custom techniques. There are many styles and ways to make springers. This is my spin on them, and should make for a fun process. Hope you enjoy it and thanks for reading!

I start with the steel I will be using. In this case, it's one ¼ diameter 3/16 thickness DOM tubing for the rear legs, 1 inch diameter ⅛ thick DOM tubing for the front legs, a ½ plate for the upper spring mount, and ¼ thick for the front wishbone support and lower mount. I also got tubing to fit over the front and rear legs as well as some brass.

I determine how far apart I want my rear legs to be and I cut out my lower plate that the stem goes in. The distance depends on whether you want a narrow springer or wider one for wider tires and a brake.

I finish out the steel with an 80 grit Dual Action then hit it with a scotch brite pad. I even it out for a sweet, clean metal finish.

By clamping the bottom support to the table it allows me to get the stem in place and with a square, I can get it mocked up and 90% to the support plate and weld it in.

Then I repeat the process and cut a chunk of the rear leg and slide it through the upper and lower plates, so you know they are aligned.

This is what the lower support should look like with a ¼ space between them.

Next, I make brass spacers to go between the lower support plates. This is where you can get creative and make whatever you think looks good.

These are what mine look like when they're done on the lathe.

This is what the bottom rear leg support should look like when it's done and welded. I make sure when welding it in that the stem is perfectly at 90% to the support plate in all directions.

Next I make the rear leg by heating it up and bending it. Making sure the top goes into the upper clamp, and the bottom is the center to center of the lower support.

I slide the rear leg in and check that it's 90% with the lower support.

Then I put both legs in and check and make sure the upper clamp goes on the legs and the legs are straight, and the distance between them is the same all the way to the bottom.

Put the wheel in that you are going to use and figure out where to cut the rear legs. I do this by putting the springer on the bike and determining the length I want.

After I know my rear legs are final I put the legs in the lathe and spin some ripples in them.

This is what the legs should look like, or whatever you come up with.

This is what the rear leg should look like when its finished up.

Next I make the upper beauty band and slide them on the legs; these look cool, and they cover the welds. I lock the legs down on the table making sure they're square and weld them in.

I slide the upper beauty bands on, and the lower then plug weld them into place. Finish them out with 80 grit DA and with a scotch brite pad.

As you can see, when the upper portion is done you don’t see any welds, and it looks pretty nice as well.

I do the same technique to the bottom of the legs.

This is a pic of the back of the rear leg of the springer finished.

Next, I make an insert that goes into the bottom of the leg that holds the rocker arm. Now I can mock up the axle and hub assembly.

Now it's time to bend the front wishbone legs. You can do this on the table like the rear legs, or in a bender.

This bend can be the same distance as your front legs, and knowing your spring diameter with a 1'' gap, you can figure out your bend. This will be different depending on the application.

This is what the front legs look like.

I do the same process to the front bottom legs as I did to the rear legs and now the rockers can be bolted on.

It's now time to make the upper spring support. I do this with a ½ plate, and mark was my rear legs are, where the neck of the frame is and where the upper spring bushing go. This is found by the diameter of the springs and putting a 1'' gap between them.

Next cut out for your rear legs so that the plate goes at least ½ way around the rear leg, and for clearance for the neck of the bike. Now you can check to make sure the spring rods go through evenly.

This is what the upper spring support should look like. The upper spring bushings should be able to swivel around in the plate so that the spring rods don't bind. Also, make sure that the bearing cups can pass by the plate when installing the springer to the bike. I have plugged the rear upper legs to go into the top clamp, and also made beauty rings to fit the bottom of the clamp.

I have installed my spring rods into the top of my front legs by welding them in and pining them as well. Now I can slide on the lower spring plates and put the inner springs on to get a full mock-up.

This pic shows what it should look like with all the hardware installed and a hole in the middle of the upper spring plate for a headlight mount.

On this springer, I wanted to have the option of a front brake, so I mock up the entire front brake assembly, and now I can determine where the brake stay will go.

I get my location and drill and tap a hole into the inside of springer so that it can be bolted on.

Now it's time to install the inner and outer springs and put a gusset plate between the front legs for strength. This is made from ¼ inch plate, and I put holes in it for looks.

This is what the upper assembly should look like when finished!

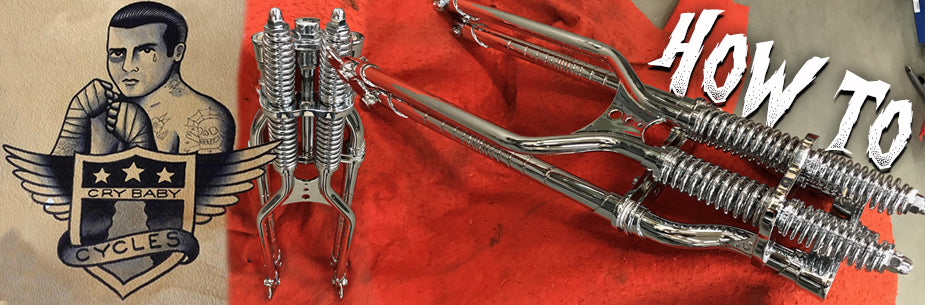
This is a pic of the springer, finished and chrome! Thanks for taking the time to check out this tech article.
Check out American Metal Customs: Website / Facebook / Instagram

Leave a comment